Already have your lab inventory in a spreadsheet or another inventory system? Import it into Oscar and start loading your reagents and consumables without entering each item manually.
Oscar lets you import your existing inventory using a CSV file. Once imported, Oscar guides you through the physical loading process, whether you're storing individual bottles or multiple items in multi-tray bins.
This tutorial walks you through the process, from preparing your CSV file to loading your items into Oscar.
Before you start
Make sure you have:
A CSV file containing your inventory.
Access to the OpenShelf software.
Your physical inventory ready to load into Oscar.
What information does Oscar need?
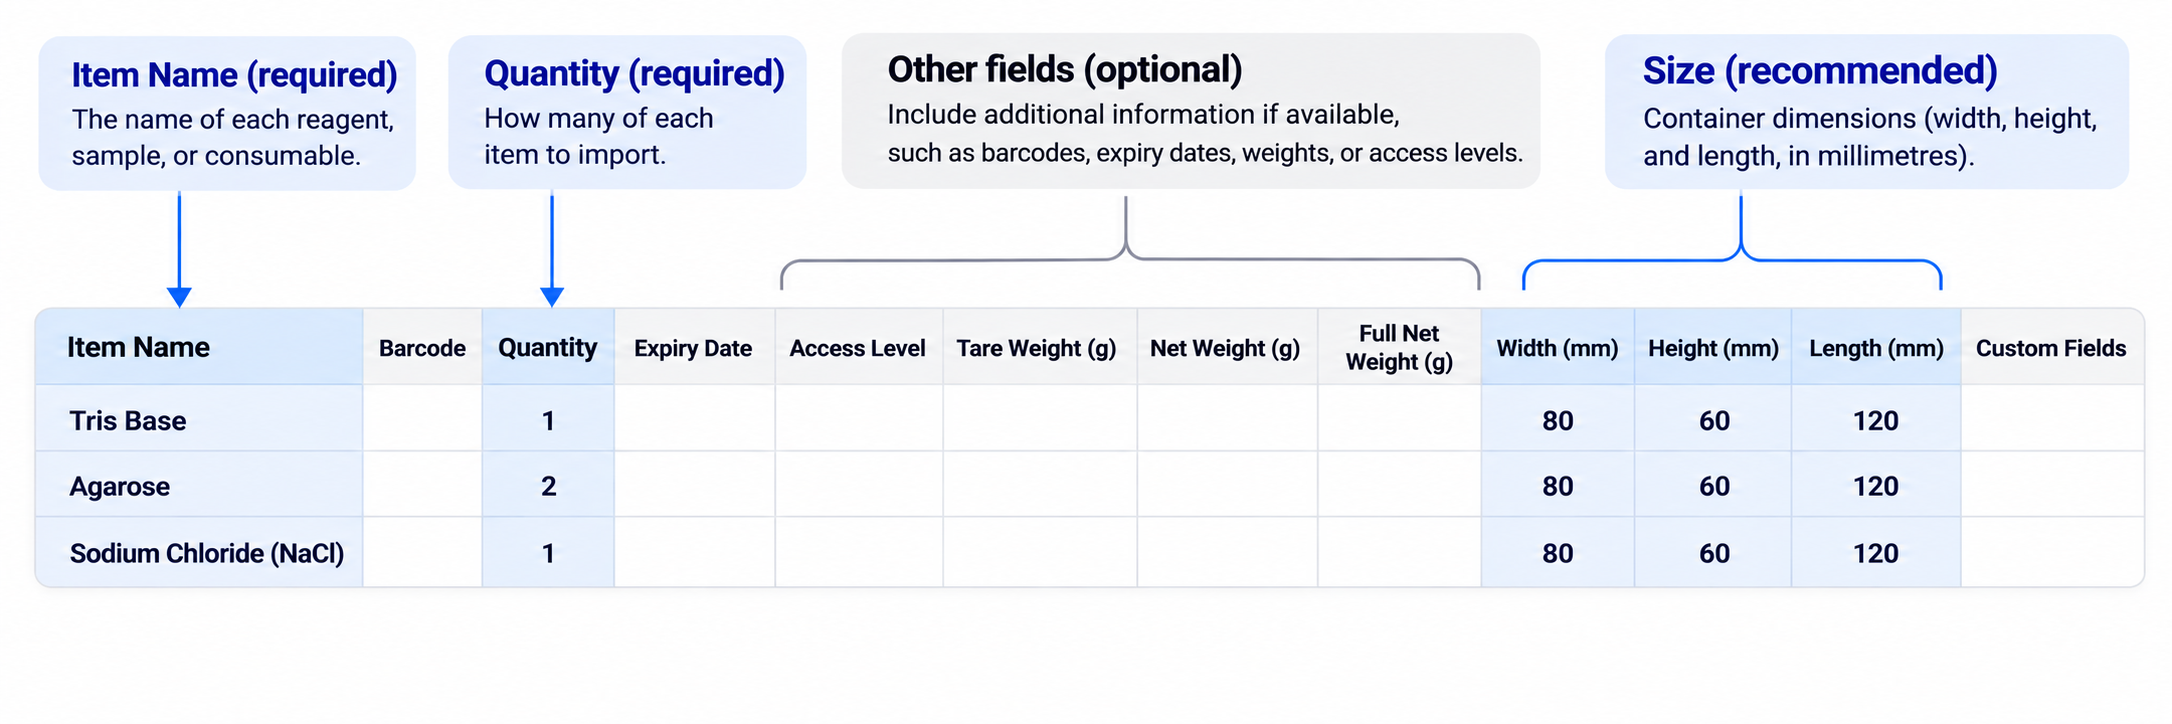
Your CSV file needs two required fields:
Item Name (required): The name of each reagent, sample, or consumable.
Quantity (required): How many of each item you want to import.
You can also include:
Size (recommended): Container dimensions (width, height, and length). If this information is missing, Oscar will ask you during loading.
Other optional information: Barcodes, weights, expiry dates, lot numbers, and any other details relevant to your inventory.
Step 1 — Create or download your CSV file
If you already manage your inventory in another system, simply export it as a CSV file. You don't need to create a new inventory from scratch. If you don't have an existing inventory file, you can download our template left in the resource section.
Fill in your inventory details and download the completed spreadsheet as a CSV file.
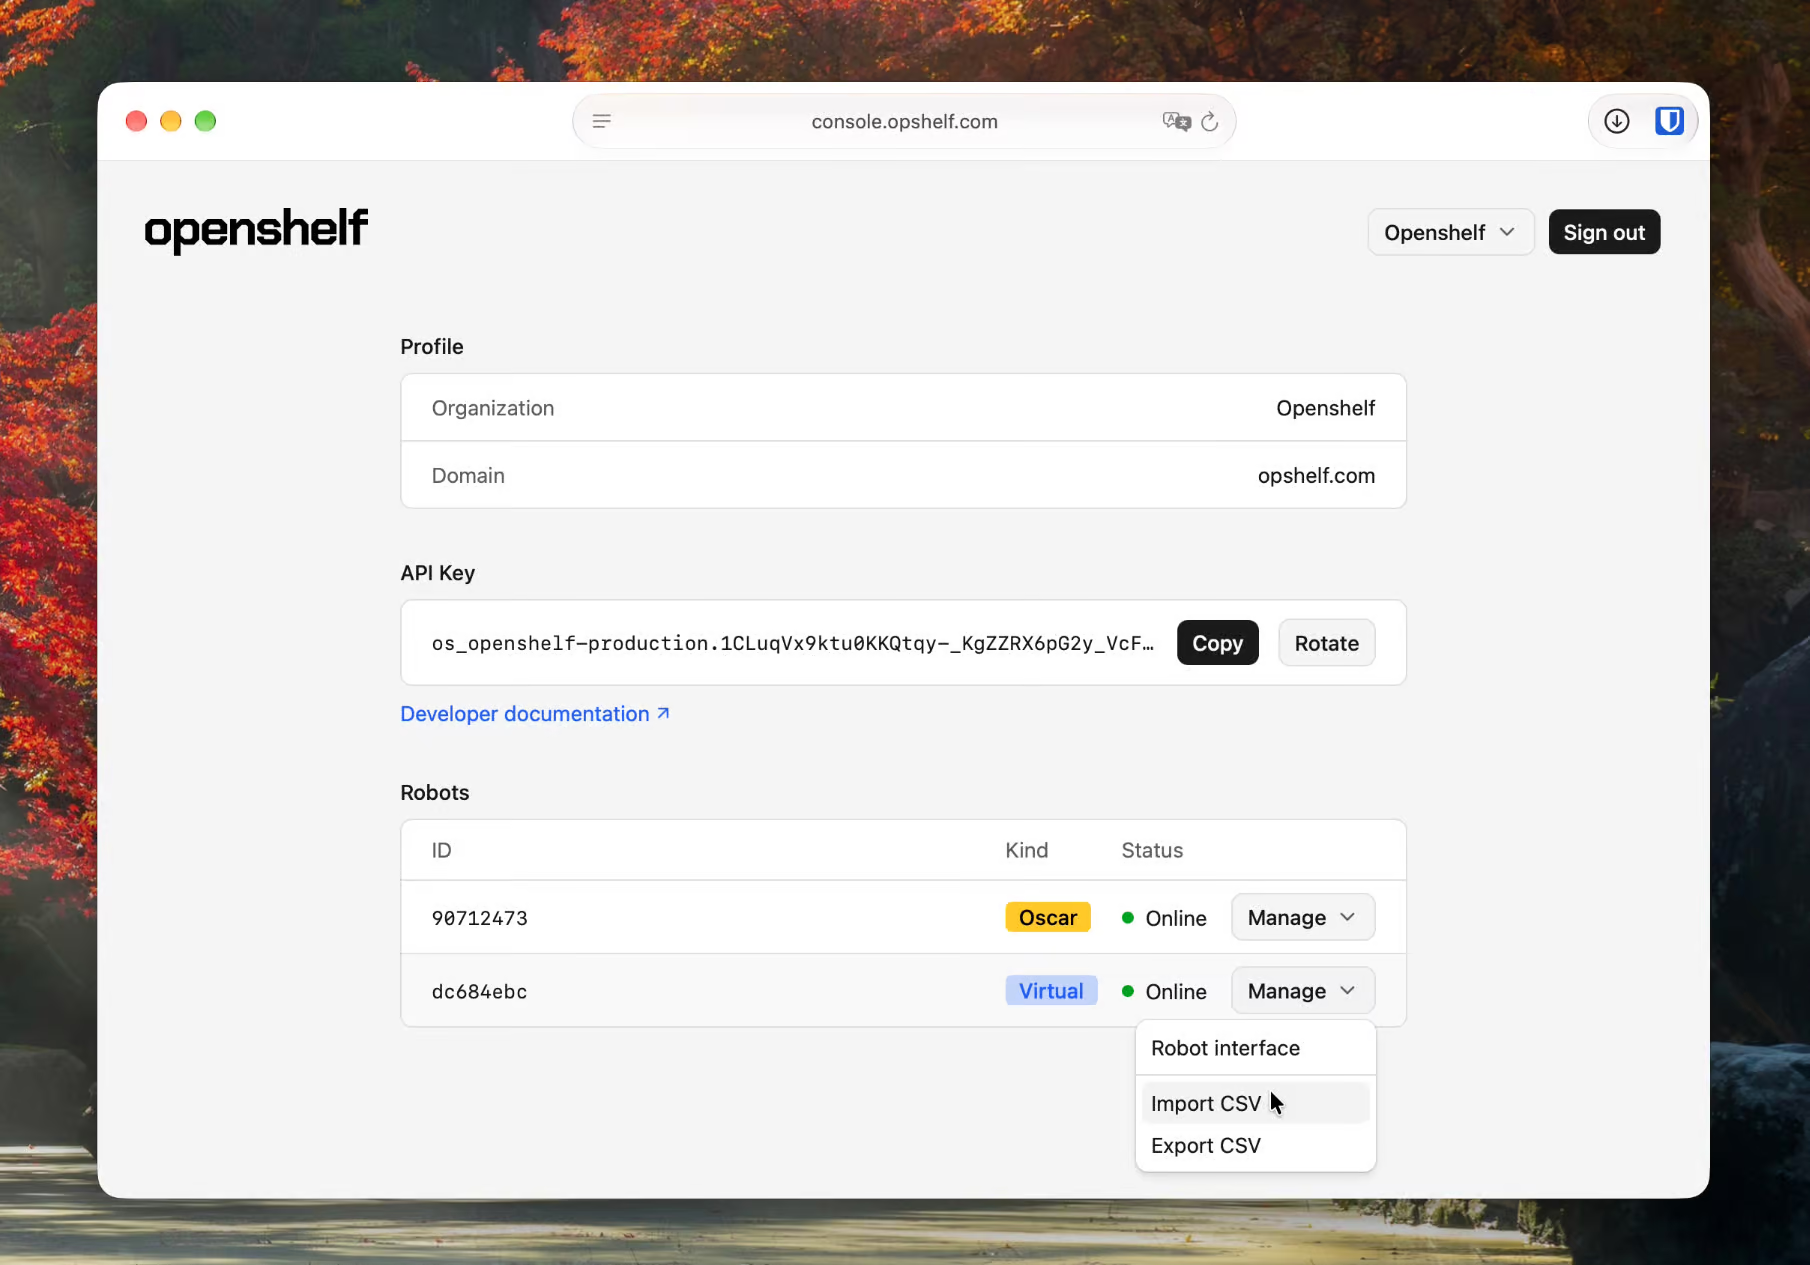
Find the Oscar robot you want to load and click Manage.
Select Import CSV.
Choose the CSV file you want to upload.
Check that the columns are mapped correctly. For example, make sure the column containing your item names is assigned to Item Name.
Click Next.
Select any reagents or items you want to store in multi-tray bins rather than individual boxes. Oscar will automatically assign them to multi-trays.
Click Start Import.
Your inventory is now imported and ready for physical loading.
Step 3 — Start loading your inventory into Oscar
Go to Oscar's touchscreen and log in.
Oscar will guide you through the loading process, one item at a time. Make sure you have the items you want to store nearby.
Loading individual items
Oscar will ask you to load a specific item, for example, Agarose.
If you only have one version of the item and the bottle already has a barcode, scan it and place the bottle in the IO Box. Oscar will recognize the item.
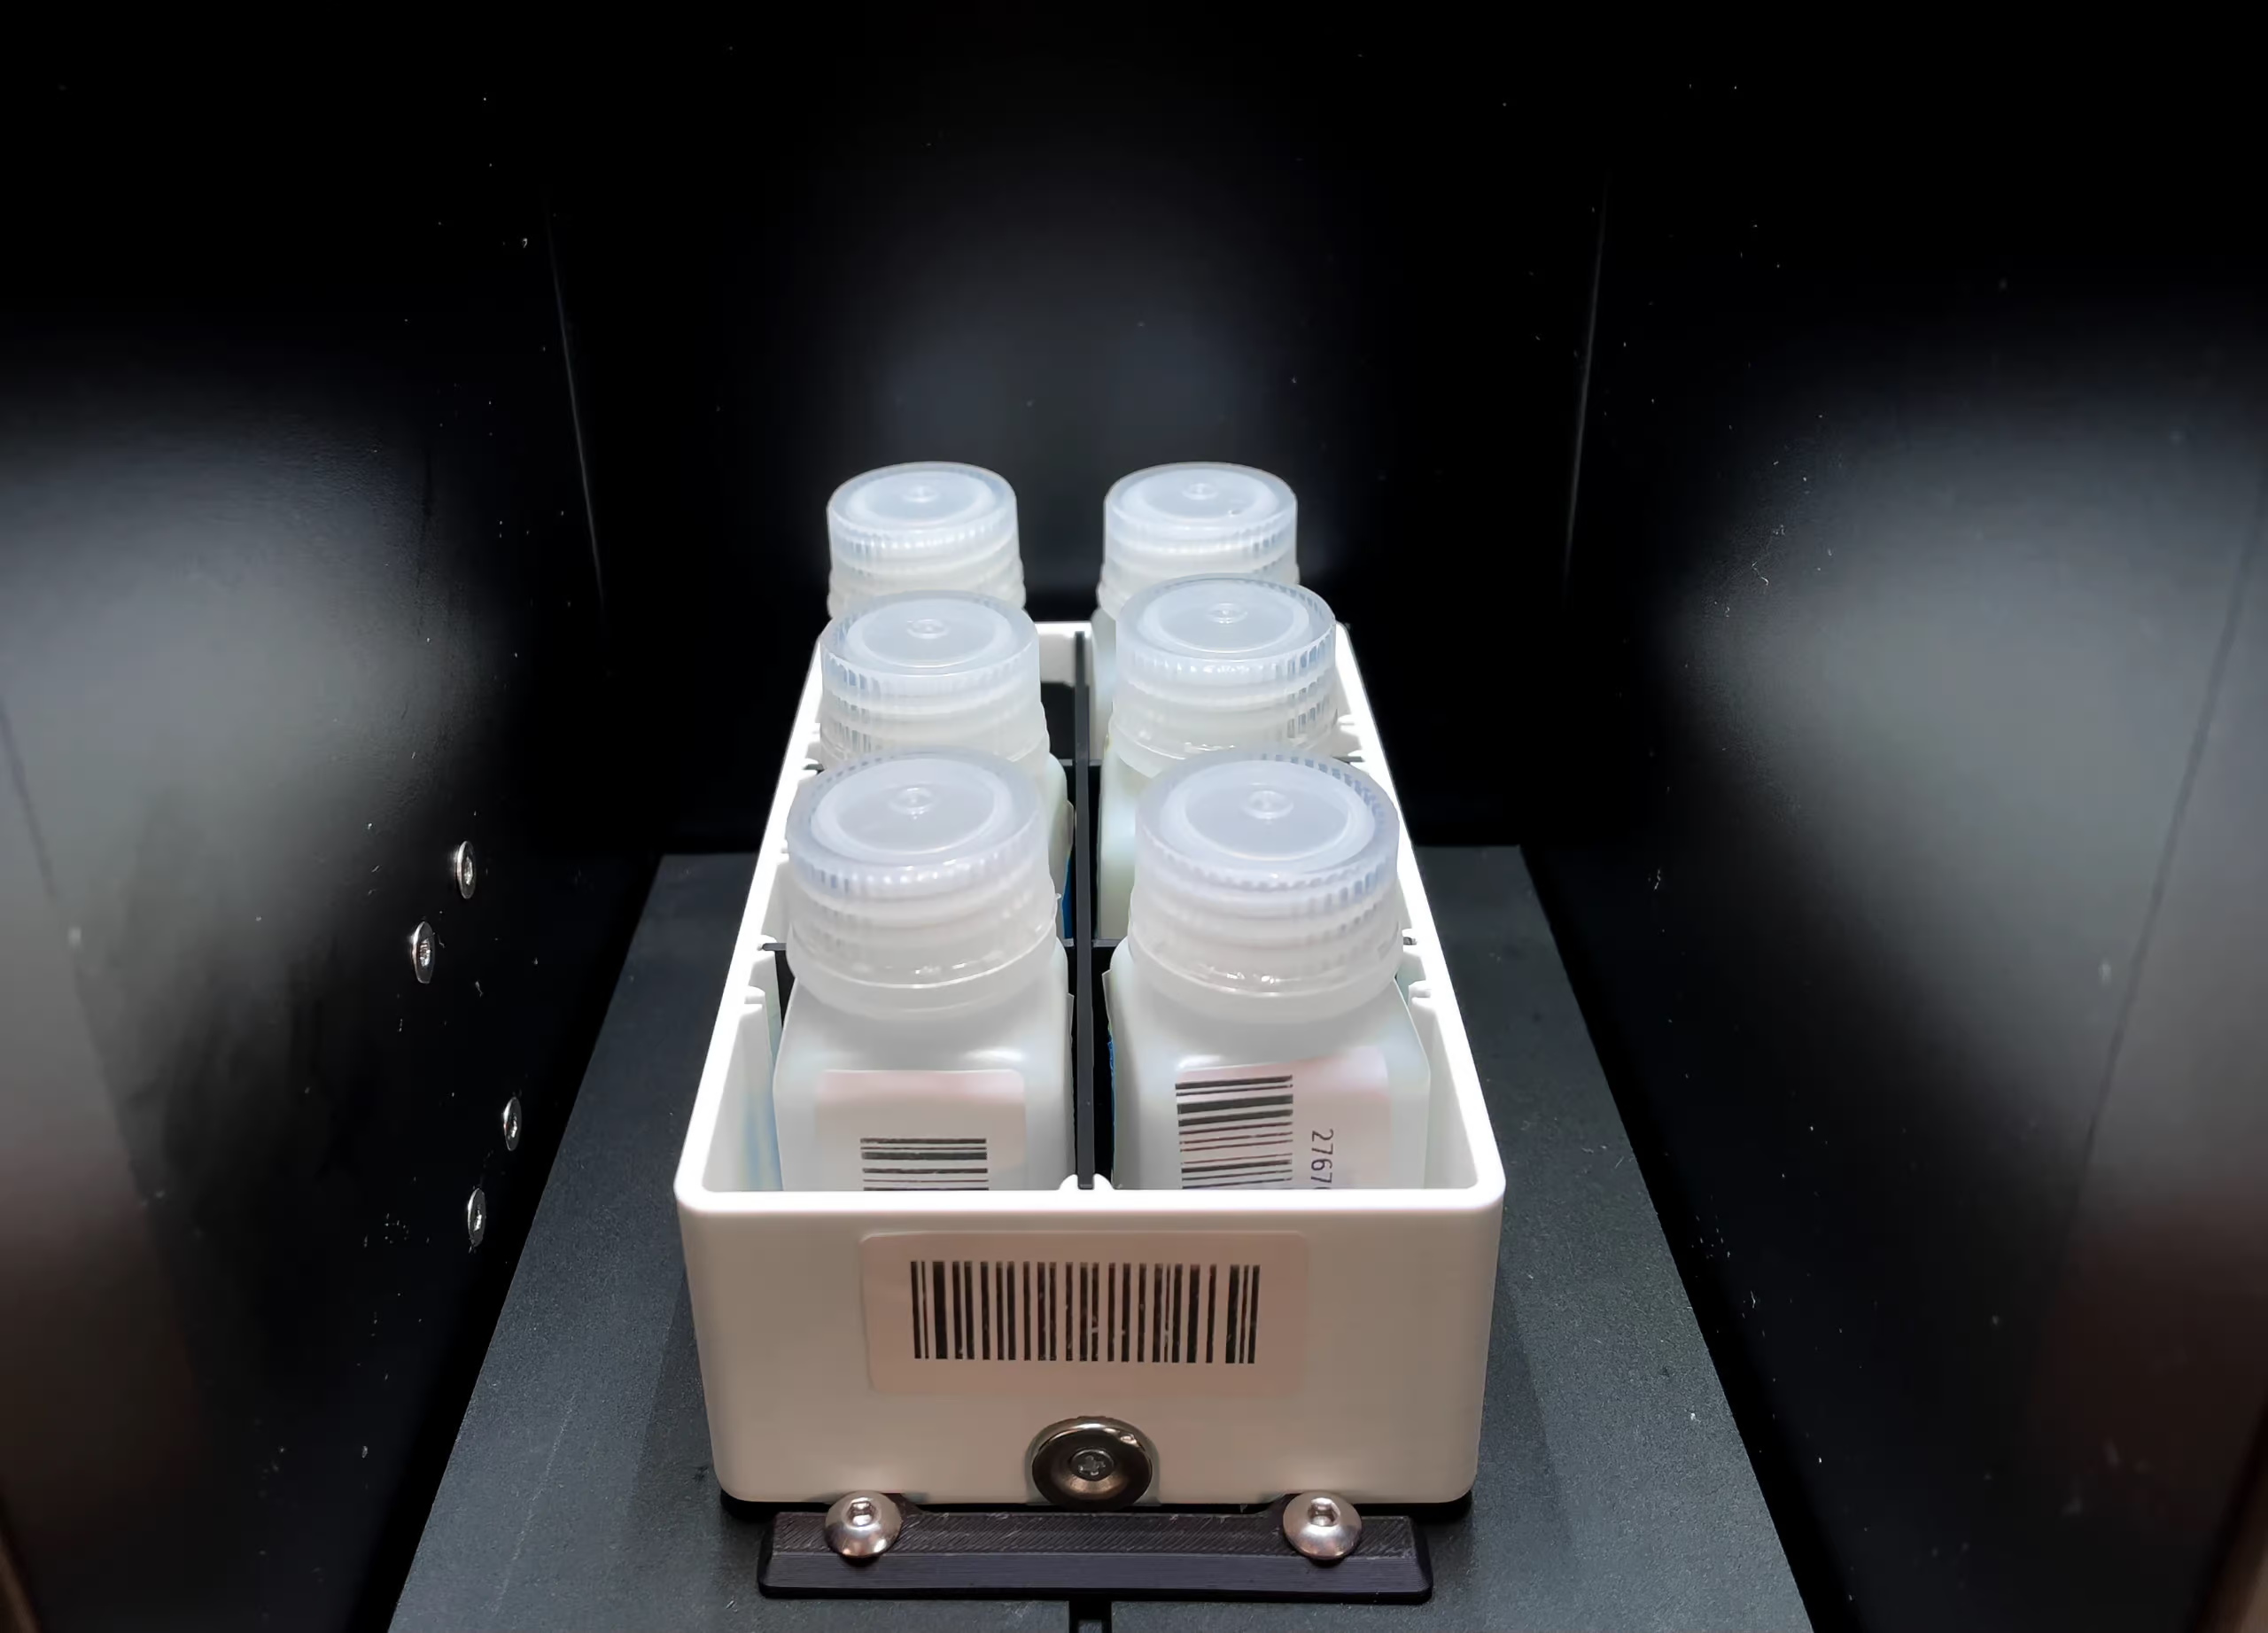
If the bottle doesn't have a barcode, ask Oscar to print one. Attach the barcode to the bottle, positioning it in the center and aligned with the back door of the IO Box for the best scanning results. Scan the barcode and place the bottle in the IO Box.
Click Store.
Loading items into multi-tray bins
If you've selected items for multi-tray storage during import, Oscar will guide you through loading them into the correct tray.
Oscar will first ask you to retrieve the multi-tray. Click Retrieve.
Follow the touchscreen instructions to load each item:
Scan the barcode on the bottle.
Place the bottle in the designated position in the tray, as instructed by Oscar.
Click Next to continue with the next item.
Repeat until Oscar indicates that the tray is filled with its assigned reagents.
Click Store to return the tray to storage.
Step 4 — Finish loading
Continue following the instructions on Oscar's touchscreen until all your imported items have been stored. Once loading is complete, both Oscar's touchscreen and your dashboard will return to their standard interfaces. Your inventory is now stored in Oscar and ready to use.
Need help?
If you run into any issues while importing or loading your inventory, reach out to us on Slack or email helene@opshelf.com.