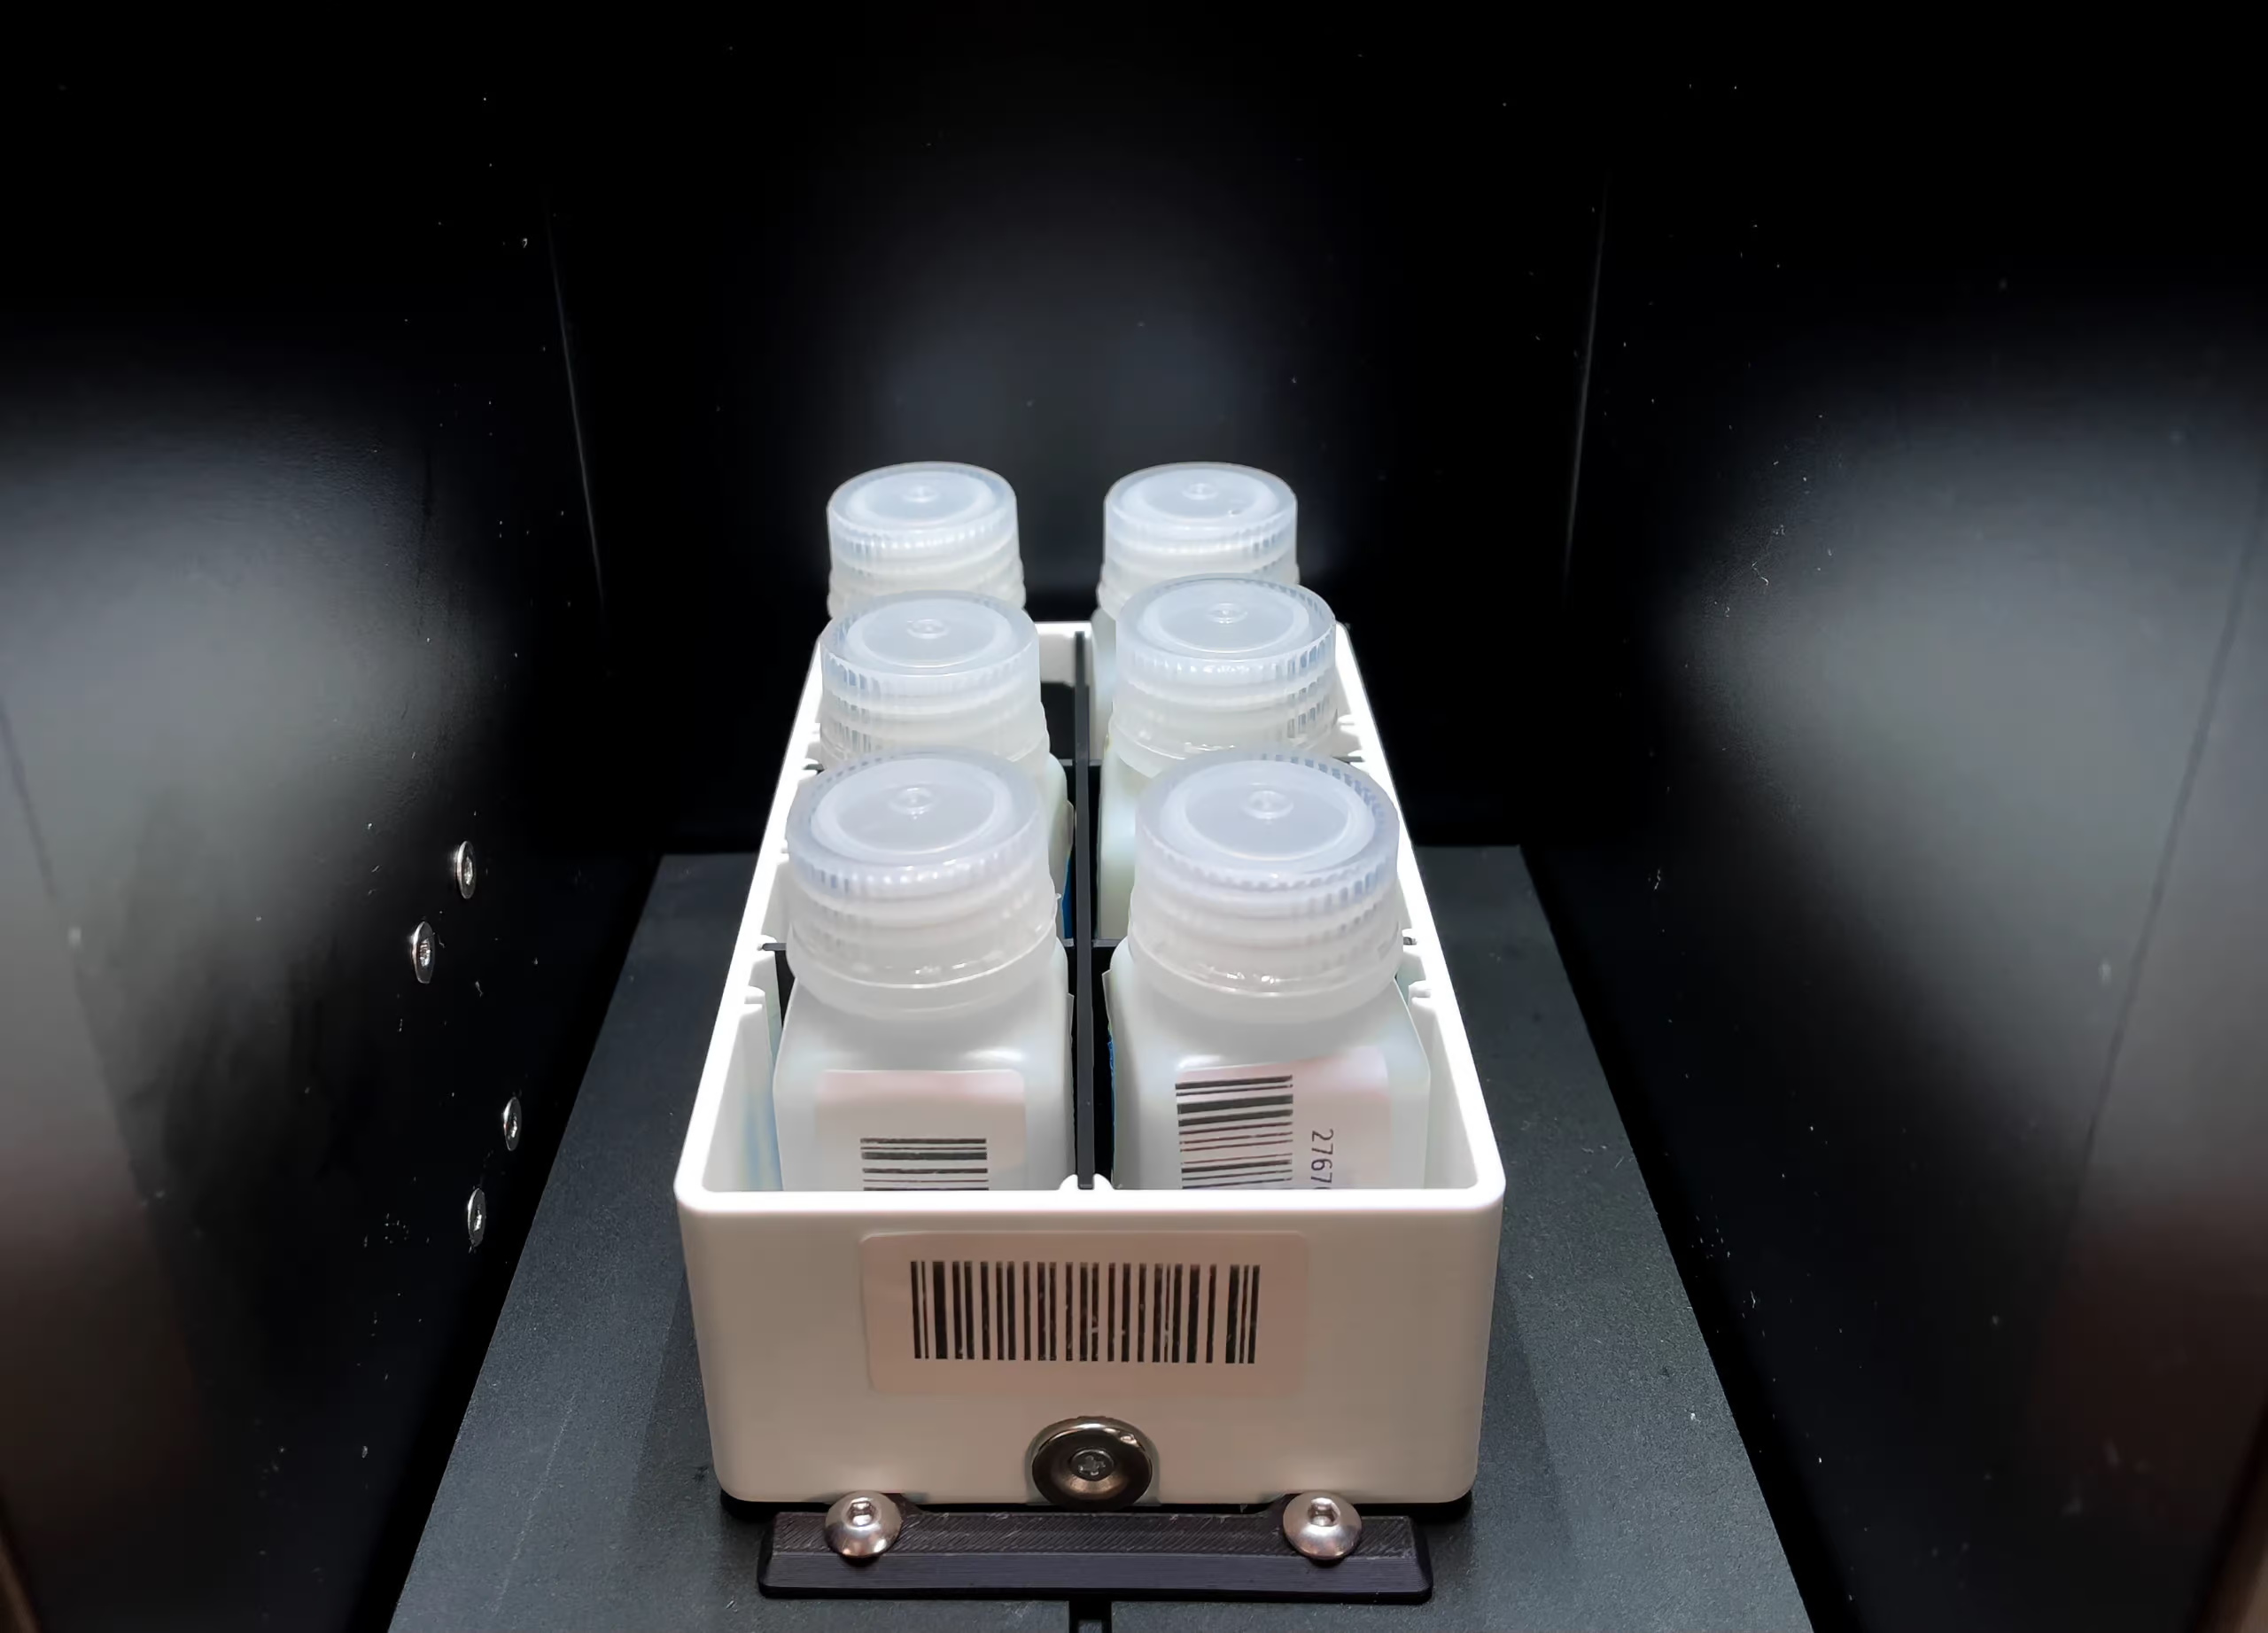
Multi-tray bins allow Oscar to store multiple reagents, samples, or consumables in a single storage location. This guide walks you through calibrating Oscar for multi-tray bins, setting up storage locations, and placing your trays inside Oscar.
Before you start
Make sure you have:
Access to Oscar's dashboard and Developer Mode.
Your multi-tray bins ready.
Access to Oscar's storage shelves and IO Box.
Step 1 — Calibrate Oscar for Multi-Tray Bins
If this is your first time loading a multi-tray bin, you need to calibrate Oscar for the new bins.
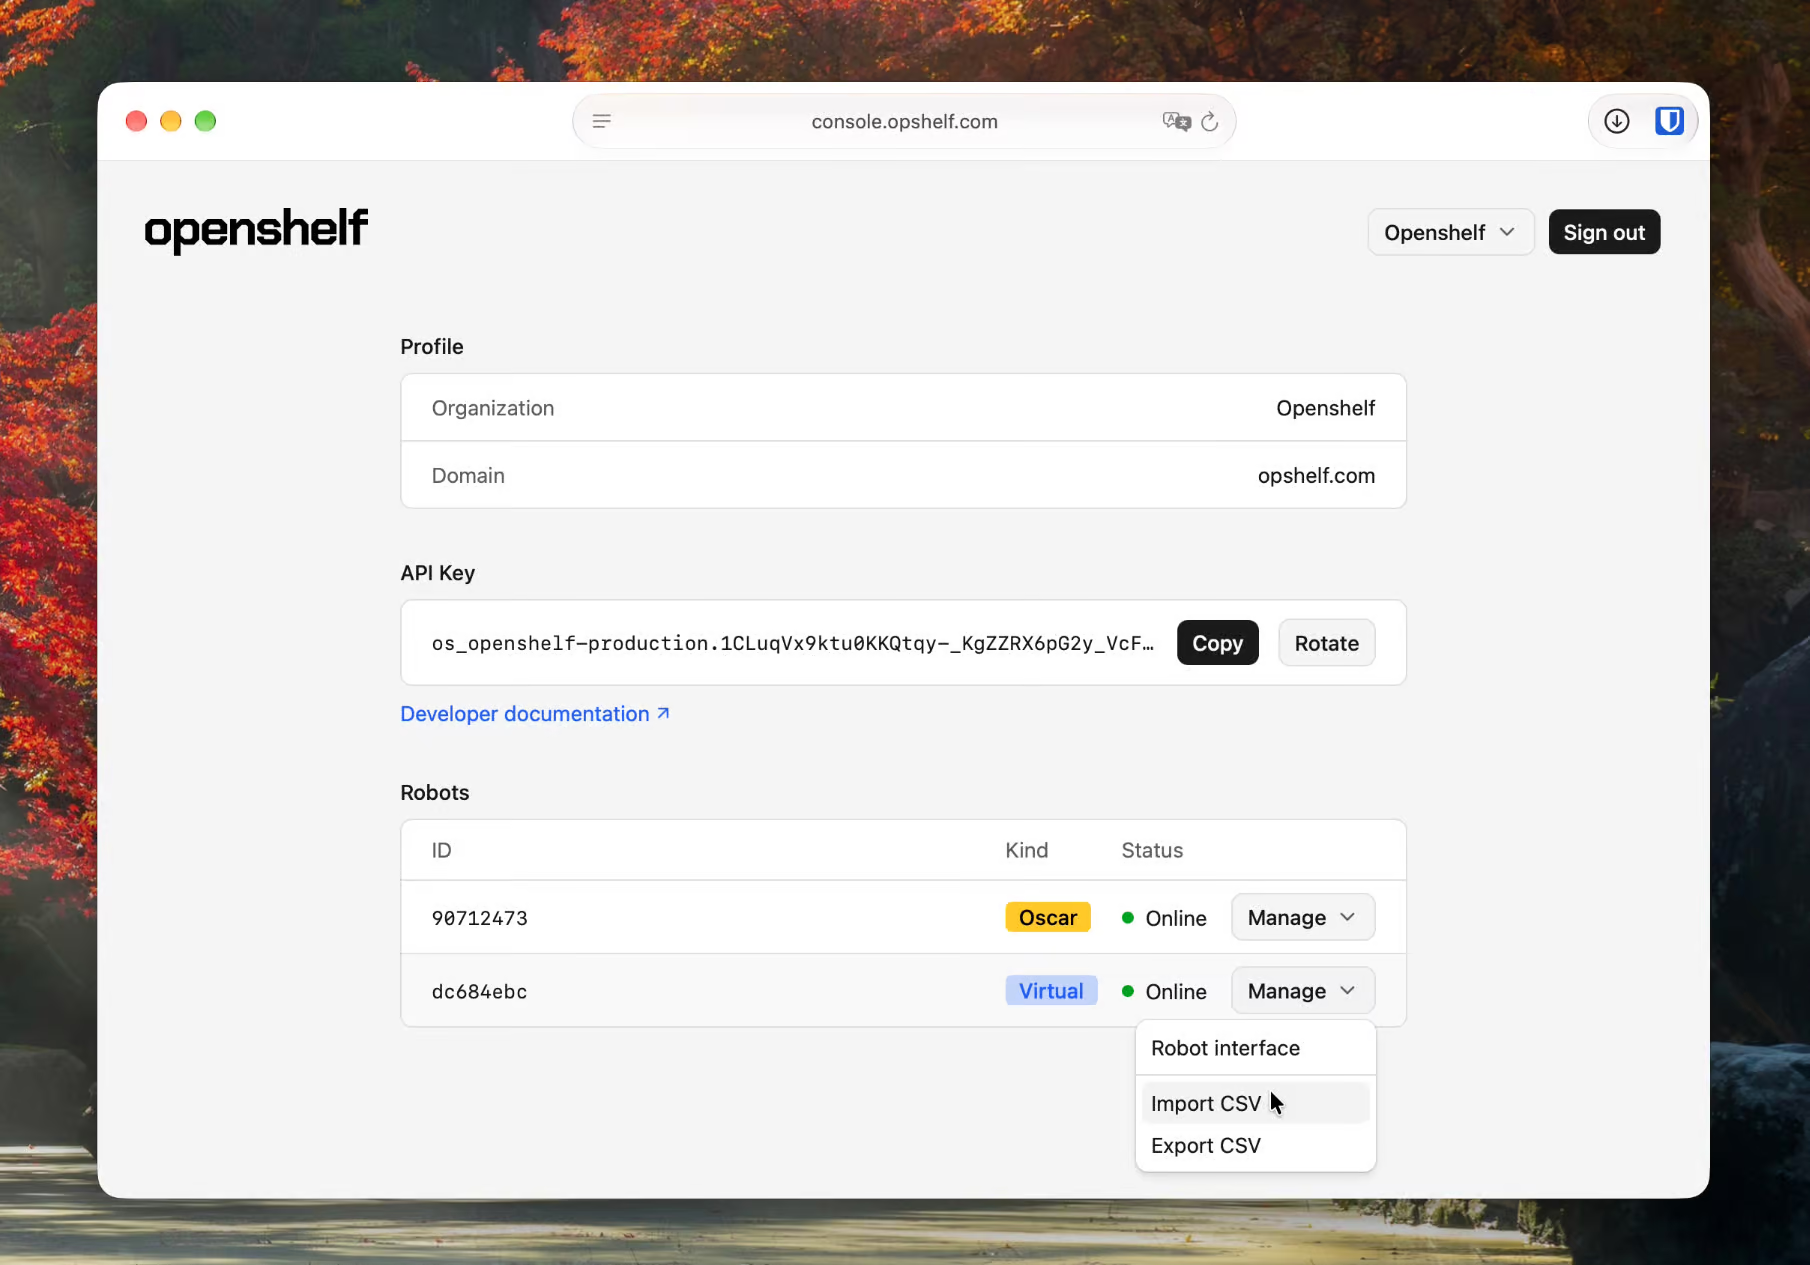
In the dashboard, go into Developer Mode.
Click Storage.
Click IO Box.
Next to Position, choose Multi-item.
Click Start Calibration.
Place one of your multi-trays in the IO Box. Make sure the two indents are aligned with the two screws of the stopper.
If a safety interruption window opens, click Acknowledge. This simply means Oscar has detected that you placed an item in the IO Box.
Click Extend and check whether the gripper reaches the dedicated hole in the box. If not, adjust the gripper by moving the Z axis slightly forward or backward as required.
Click Retract to move the gripper back and release the box.
Click Grip to check whether the position allows Oscar to grip the box correctly, and Release to release the grip.
When you're happy with the position, click Test with Gripper to test the full cycle.
If the gripper can pick up the box and place it back, click Save. Oscar will display the message “Multi-item bin test completed.”
If the test is unsuccessful, adjust the settings and try again.
You've now calibrated Oscar to grip multi-tray bins.
Step 2 — Configure Your Multi-Tray Storage Locations
Next, configure the storage location for your multi-tray bin.
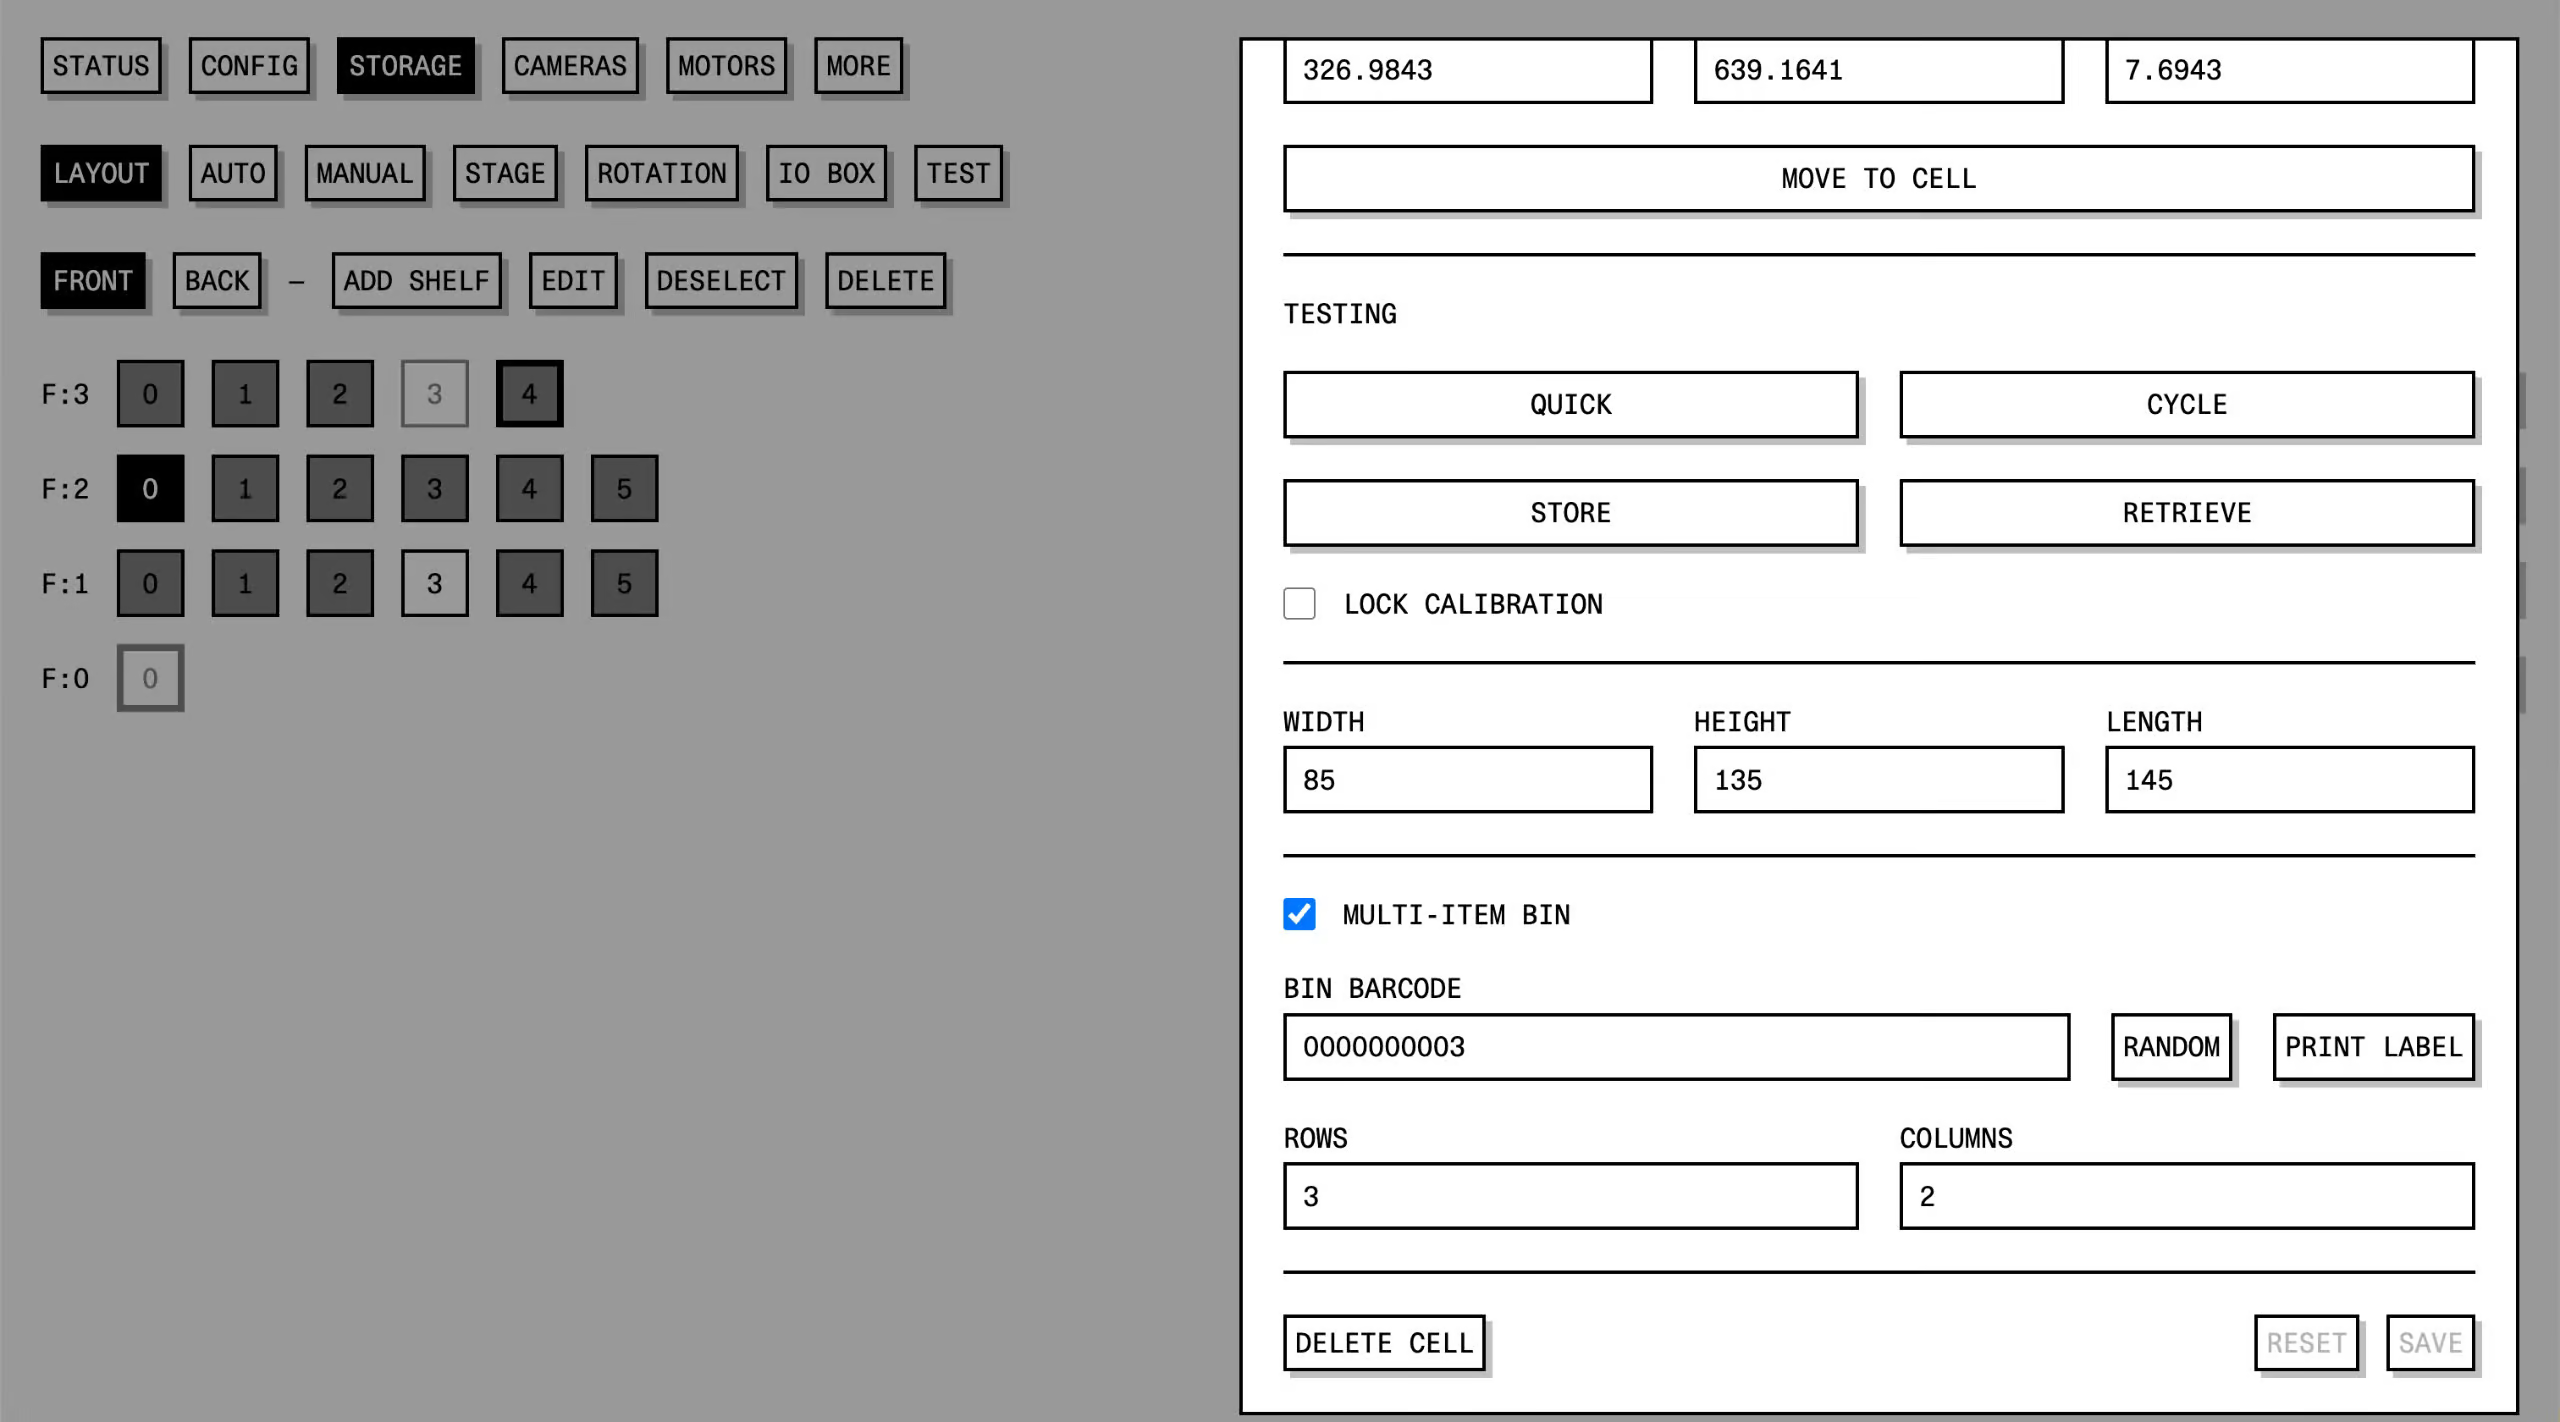
Click Storage and choose the first location where you want to place a multi-tray, for example F:3-0.
Click Edit.
Scroll down to the Multi-item bin checkbox and tick it.
Scroll down to Rows and Columns and enter the number of rows and columns in your bin, for example 3 rows and 2 columns.
Scroll up and click Random next to Bin Barcode to generate a new barcode for the bin.
Click Save.
Click Print Label.
Stick the new barcode on the tray you want to place in this location.
Step 3 — Calibrate the First Multi-Tray Storage Position
If you're placing a multi-tray bin inside Oscar for the first time, follow these instructions to calibrate its storage position.
In the dashboard, go into Developer Mode and temporarily disable all safety guards so you can work with Oscar with the doors open.
Place your multi-tray in the desired location inside Oscar.
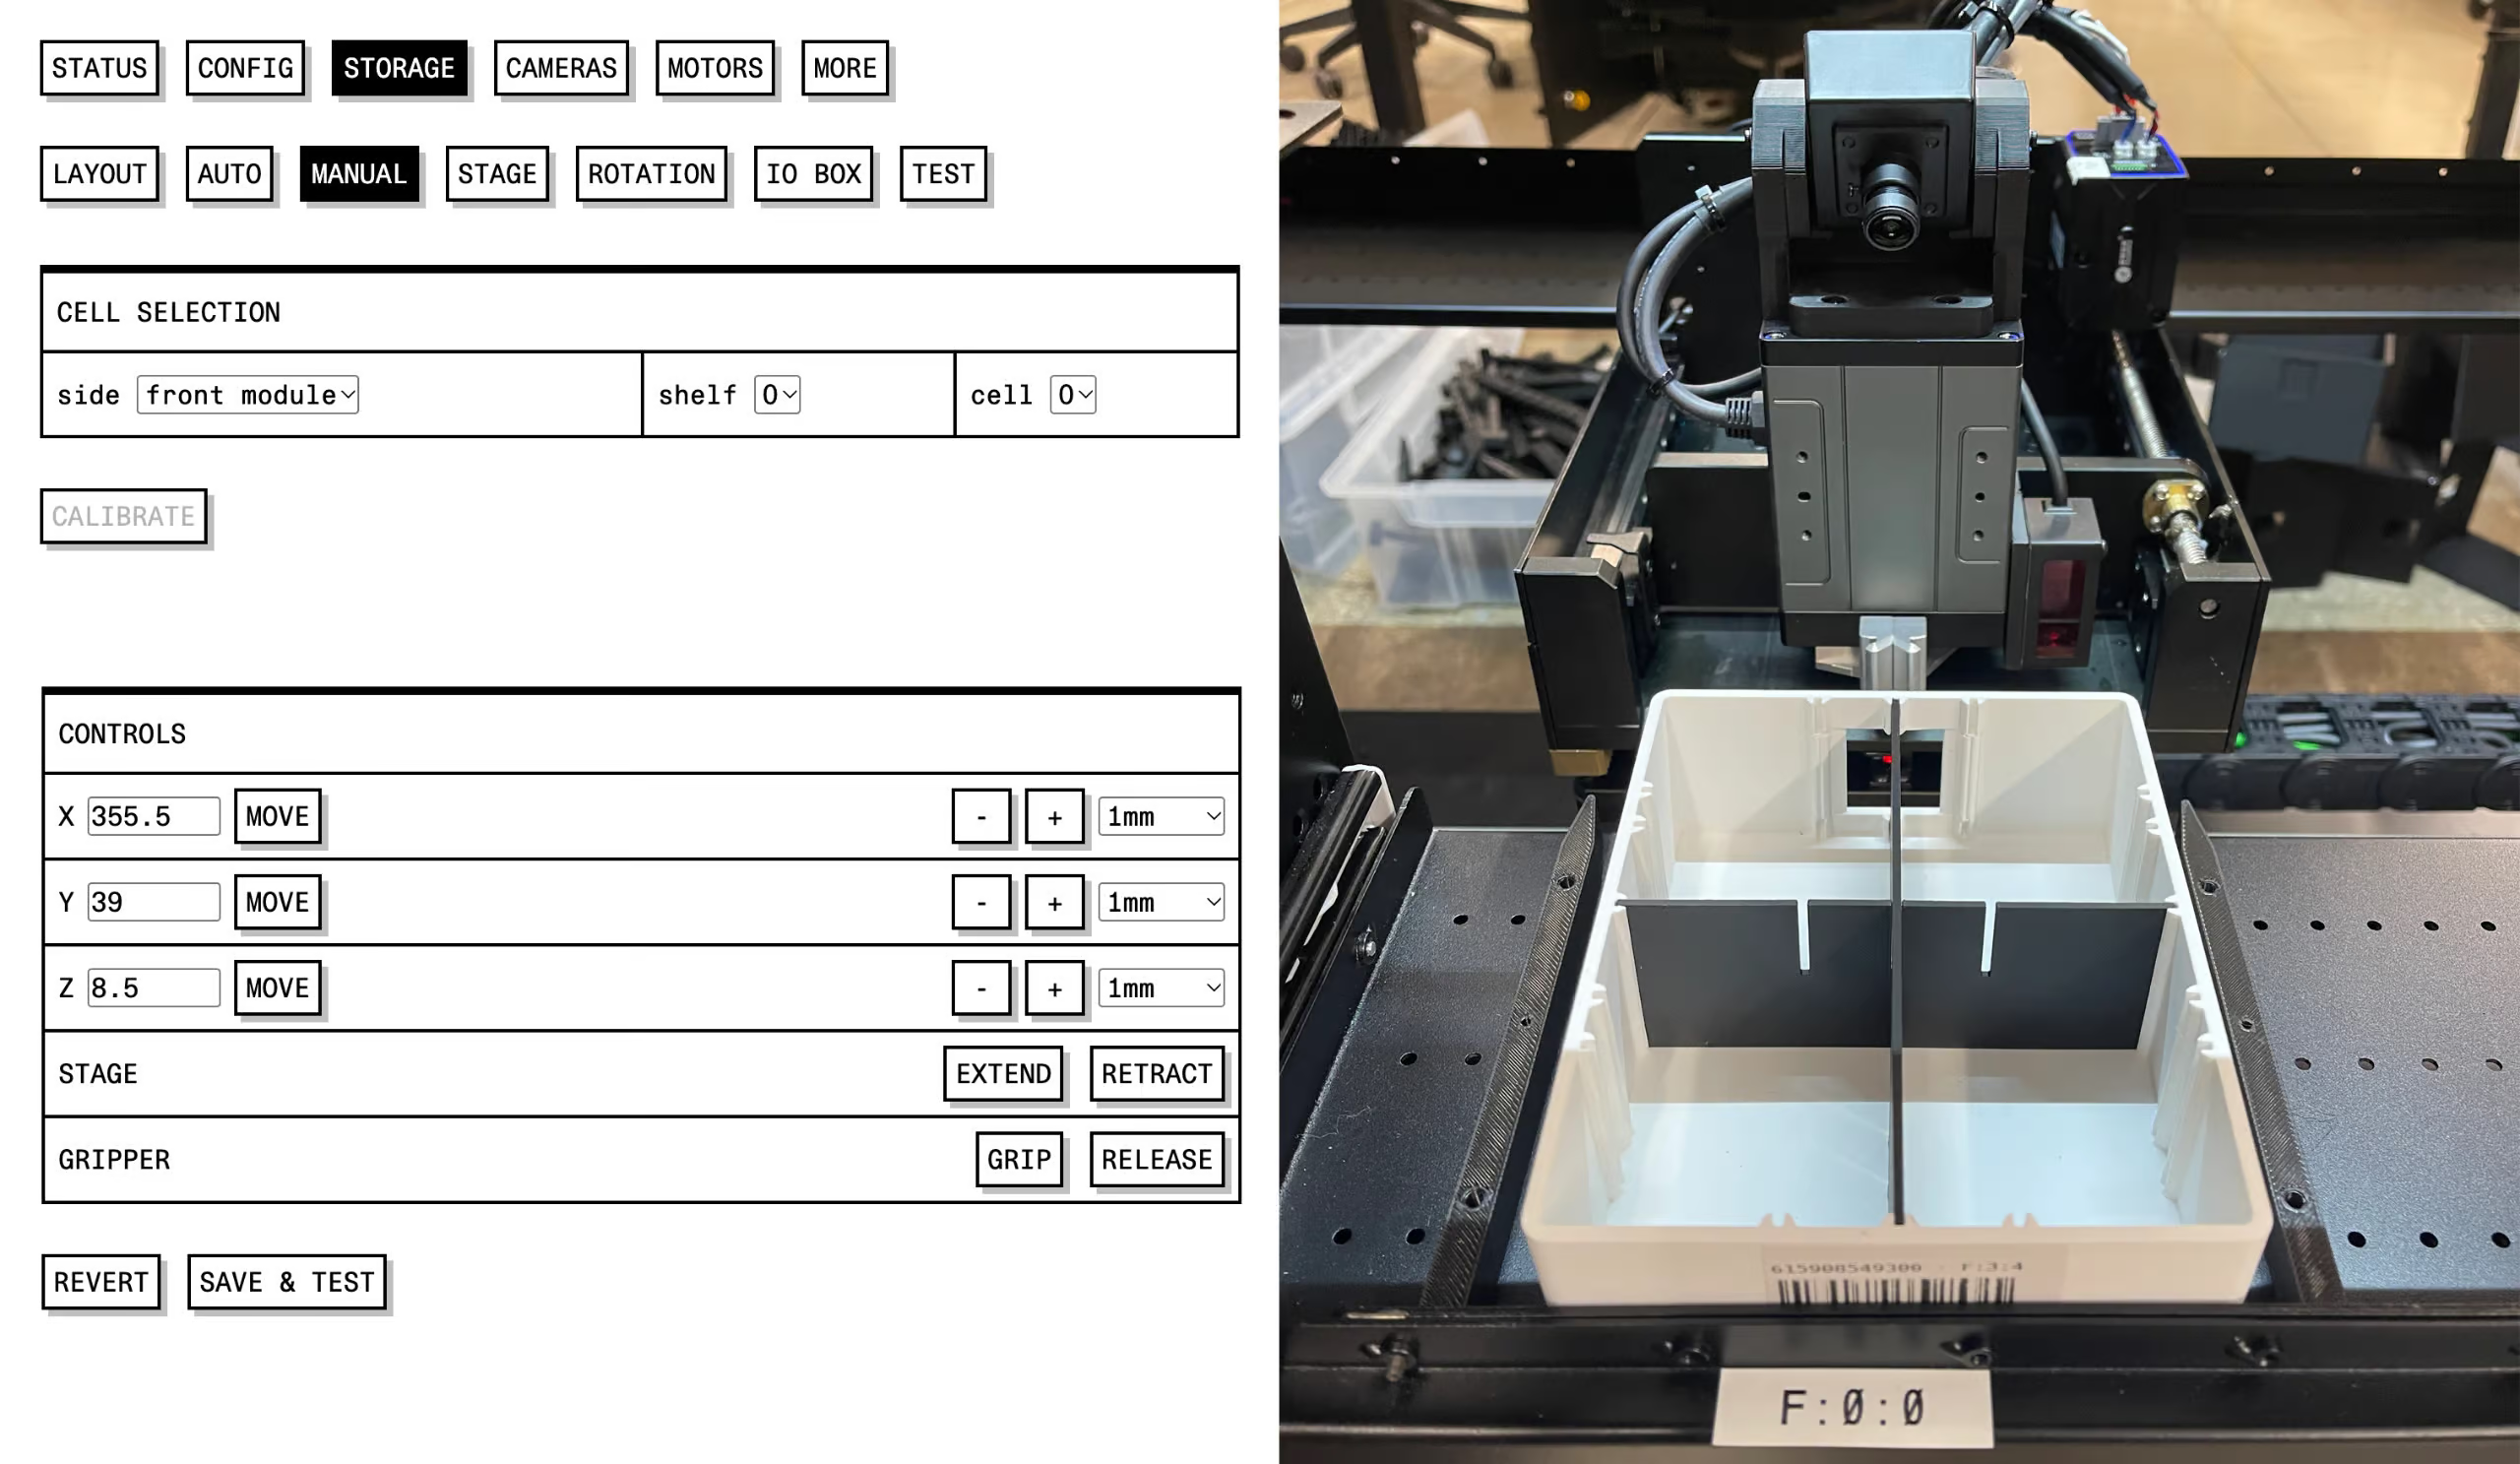
In Developer Mode, click Storage, then Manual.
Next to Side, choose Front or Back, and select the shelf and cell corresponding to the location where you placed your first multi-tray.
Click Calibrate.
The control window will open. Click Move and check whether the gripper moves to the correct location to pick up your new box. You can adjust the Z axis to move it forward or backward as needed. Click Extend and Retract to test the gripper's forward and backward movement.
When you're happy with the position, click Extend and Grip to test whether the box can be picked up.
Click Release and Retract.
Test your settings by clicking Save and Test.
Place all your multi-trays in their correct positions inside Oscar.
Enable all safety guards again.
You've now calibrated Oscar to retrieve multi-tray bins from their storage locations.
Step 4 — Add More Multi-Tray Bins
To add more multi-tray bins, repeat the setup and calibration process for each additional tray.
Repeat Step 2 to configure the new storage location, generate a barcode, print the label, and attach it to the tray.
Repeat Step 3, steps 2–9 to place the tray in its location, calibrate the gripper, and test the pickup.
Repeat for each additional multi-tray bin.
Once finished, make sure all safety guards are enabled again.
Your multi-tray bins are now configured and ready to use with Oscar.
Need help?
If you run into any issues while setting up or calibrating your multi-tray bins, reach out to us on Slack or email hello@opshelf.com.